Armide report June 11th 2018
Armide report June 11th 2018
Photos of recent works undertaken
-
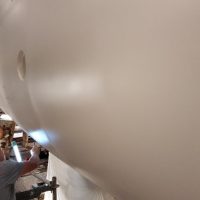
Checking the topsides for fairness
-
![56-02]()
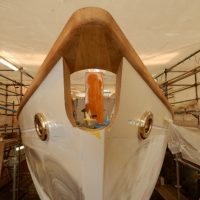
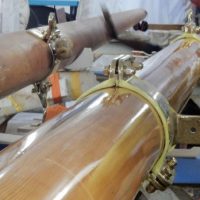
Capping rail at the stem with hawse pipes dry fitted for checks
-
![56-03]()
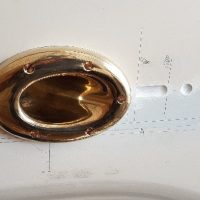
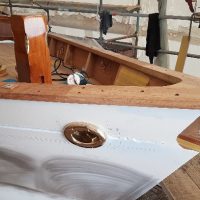
Hawse pipes dry fitted with cove line end details
-
![56-04]()
Hawse pipes dry fitted with cove line end details
-
![56-06]()
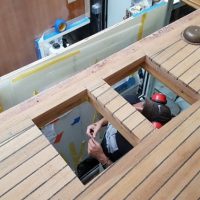
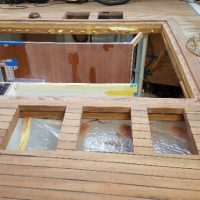
Openings in the deck at the half skylights alongside the doghouse
-
![56-08]()
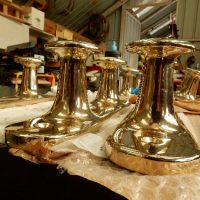
Six bronze deck bollards being drilled and prepared for installation
-
![56-05]()
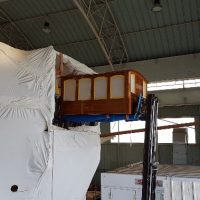
Lifting the varnished doghouse onto the deck for final installation
-
![56-07]()
Openings in the deck at the half skylights alongside the doghouse
-
![56-10]()
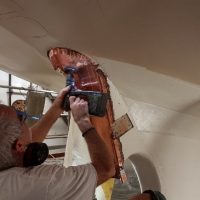
Copper sheathing on the rudder at the propeller cut-out
-
![56-09]()
Copper sheathing on the rudder at the propeller cut-out
-
![56-16]()
Drilling the capping rail at each chain-plate for the rigging screws
-
![56-15]()
Drilling the capping rail at each chain-plate for the rigging screws
-
![56-14]()
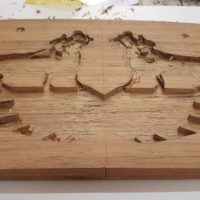
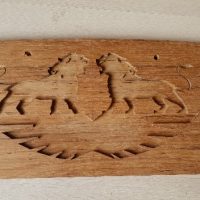
Carving under way on the owners’ motif that will be inserted flush into the transom
-
![56-12]()
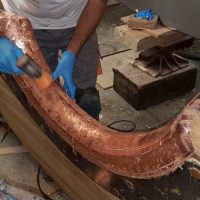
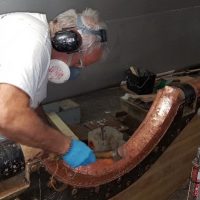
Copper sheathing on the stern post and inside the lower rudder trunk
-
![56-11]()
Copper sheathing on the stern post
-
![56-13]()
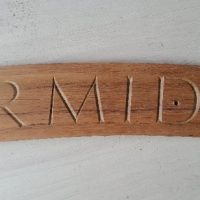
Teak name board for inserting flush into the transom
-
![56-17]()
Trial fit of rigging screws through the capping rail; bulwark lighting cables visible also.
-
![56-21]()
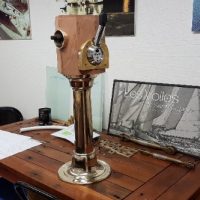
Mock-up of the octagonal box that will be on top of the bronze compass pedestal
-
![56-19]()
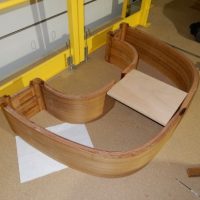
Fabrication underway of the low deck boxes either side of the helmsman’s seat
-
![56-20]()
Fabrication underway of the low deck boxes either side of the helmsman’s seat
-
![56-18]()
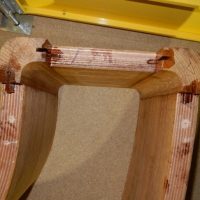
Detail of aft face of deck bench at the cockpit area
-
![56-22]()
Mock-up of the octagonal box with engine control lever & bow thruster joystick
-
![56-23]()
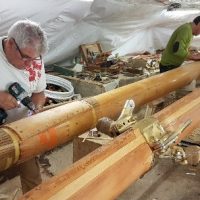
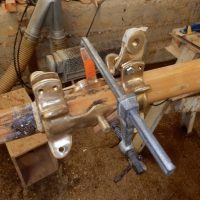
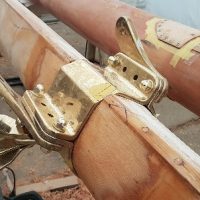
Installation of bronze mast fittings
-
![56-24]()
Installation of bronze mast fittings
-
![56-26]()
Installation of bronze mast fittings
-
![56-28]()
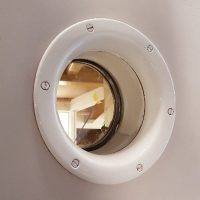
Porthole outer ring installed prior to fairing and final topcoat painting
-
![56-25]()
Installation of bronze mast fittings
-
![56-27]()
Drilling off the whisker shroud hull fittings
-
![56-29]()
The completed carving with the owners’ motif, ready for letting into the transom.







Leave a Reply
You must be logged in to post a comment.